Last updated on May 10th, 2021 at 03:59 pm
CPAP
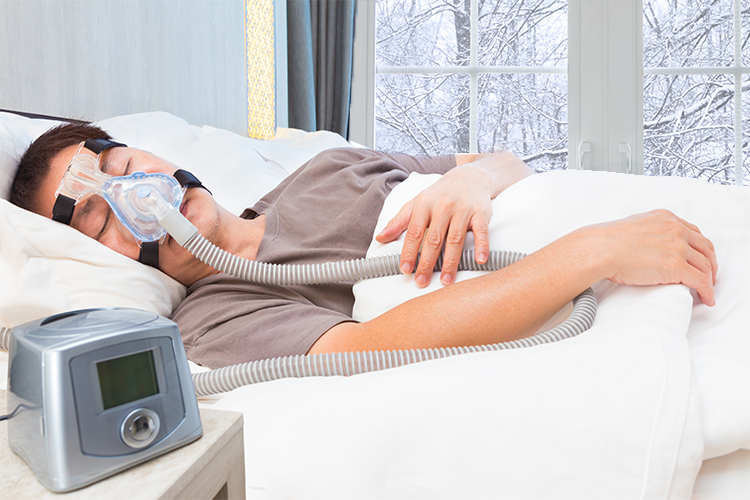
Anyone who has been recently diagnosed with obstructive sleep apnea (OSA) will likely require a CPAP machine to enjoy a sound nights sleep. The good news is that these machines are highly advanced, and they can often be personalised to accommodate your unique preferences.
While built to last, the fact of the matter is that maintenance is critical if you hope to get the most out of such amazing technology. This is why it is important to address some cleaning tips and suggestions.
You can then rest assured in the knowledge that your unit is performing at optimal levels.
The Importance of Regular Cleaning and Maintenance
Cleanliness is very relevant when using a CPAP machine. An unclean or improperly cleaned unit can open up a host of potential issues. Some of the most common include:
- The growth of mould and bacteria.
- A buildup of minerals within the filter.
- An increased risk of health issues such as sinus problems.
- The possibility of voiding its current warranty.
- Premature wear and tear, leading to a complete breakdown.
Now that we can understand why a clean machine is so critical let’s move on to examine some effective techniques.
How Often Should You Clean the Machine?
Most manufacturers will provide you with recommendations in the user manual. However, the majority state that daily maintenance is the best way to extend the lifespan of your CPAP. This includes the hose, the water chamber and the mask.
While this may appear to be a bit excessive, the fact of the matter is that such an approach is the best way to ensure a spotless device. At a bare minimum, a weekly cleaning will be required.
Recommended Supplies
The good news is that you will not need to invest a great deal of money to clean your unit. Here is a list of the basic supplies that are typically required:
- A bucket of warm water
- Antibacterial dish soap
- A soft terry cloth
- A towel
Once these supplies have been gathered, you can then clean the device.
How to Disassemble Your Machine
In order to properly clean your machine, it will first need to be disassembled. Be sure that it is disconnected from any power supply before removing the mask from the associated tubing.
Remove any accessories or headgear. You can then move on to the tubing if it can be disconnected from the machine itself.
The same is true in regards to an output designed for a built-in humidifier. If a water chamber is inside the humidifier, this can be removed. Keep in mind that while the majority of chambers can be removed, some cannot be separated into their individual parts.
How to Clean the Mask and Accessories
Begin by wiping down the exterior of your machine with a towel and warm water. This will help to remove any dust or debris that may be present.
You can then fill a basin or tub with a mixture of warm water and detergent. Add a small amount of white vinegar to the solution to clean minerals that may have built up.
Place all of the accessories in the basin and allow them to soak for about 30 minutes. If you prefer, you may choose to manually clean the mask and tubing with soapy water to remove any additional residue.
Once 30 minutes have elapsed, allow them to air dry by placing them on a towel or even by hanging them in your bathroom. Please make sure that they are completely dry before moving on.
Reassembling Your Machine
Reassembly is generally straightforward, although it may be wise to refer to the owner’s manual during the first few sessions. Connect the headgear and mask to the tubing and any additional accessories. This apparatus can then be affixed to the machine or the humidifier (if one is present).
Once everything is back in place, activate the unit. Listen for any leaks or sounds that were not previously present. These may indicate that a piece has not been connected properly.
How to Clean Your Humidifier
It is wise to clean your humidifier every week. Once again, be sure to use a mixture of soap and hot water to ensure that no debris, mould or bacteria remain.
Allow the humidifier to air dry before attaching it to the machine. Another important to mention is that you should only use distilled water. This will prevent any bacteria from forming within the casing.
What About Filters?
Certain units will contain filters that can be removed and cleaned. Refer to the official manual to determine how they should be maintained, as some will need to be replaced altogether. This also depends upon the environment and any particulate matter that may have become clogged. As a general rule of thumb, filters should be examined between every two and four weeks.
The Use of Professional Maintenance Solutions
There are some companies which provide solutions to clean your CPAP machine. However, keep in mind that these methods may void the warranty of your device, and they might not have a pronounced impact upon its overall cleanliness. When in doubt, it is best to consult with the manufacturer directly.
Consistency Is Key
The best way to lessen the symptoms associated with your obstructive sleep apnea is to clean your machine properly, so feel free to refer back to these instructions when needed.


